

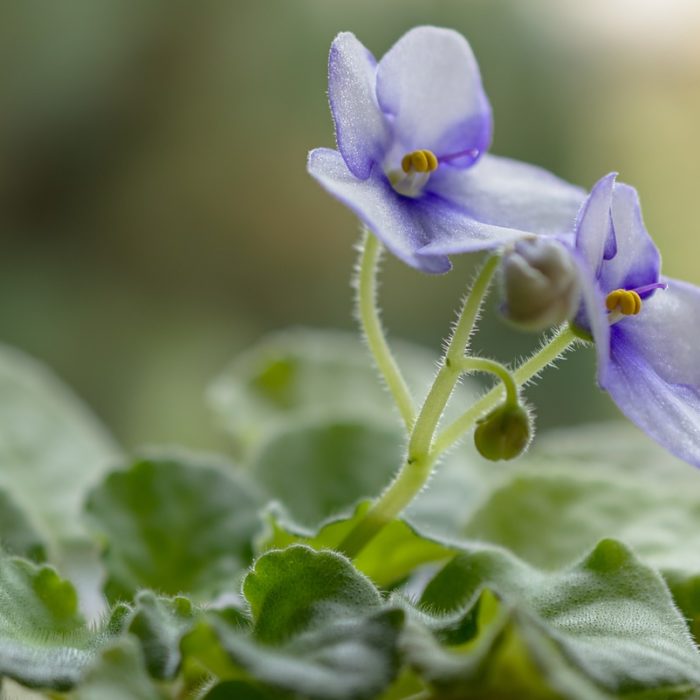
Steps to Propagating an African Violet
African violets are relatively easy to propagate from a leaf. Even inexperienced growers can produce additional plants.
-
Step 1: Remove and trim leaf
Remove a fresh leaf from the plant that you wish to propagate. It is best to use a mature leaf, but not one that is old and tough. In order to speed up the process, use a sharp knife or razor to trim away the top of the leaf blade. Not only will roots be produced more quickly, but this process will also stop the leaf itself from growing.
-
Step 2: Cut leaf petiole (stem)
Cut the petiole at a 45-degree angle, cut-side facing up, to about 1/2″ in length. Cutting it at an angle will encourage more root and plantlet production. In addition, the plantlets will more likely appear in front of the rooted leaf, rather than hidden behind or underneath it.
-
Step 3: Root the leaf-cutting
Fill a small pot with potting soil. This mix should be very light and porous and moistened, but not soggy. Make a narrow hole in the mix. Push the leaf petiole into this hole, up to the bottom of the leaf blade, and firm in the soil around it.
If there is room, more than one leaf-cutting may be rooted into a single pot. Place it in a clear covered container or a plastic baggie. Place this in a bright space with moderate temperature – no direct sun or very warm locations, since these may cause the leaf-cutting to rot or burn. And then, wait. -
Step 4: Plantlets at 12 weeks
One or more plantlets should begin to develop making their way above the soil. The wait can be 4-5 months, and the extra time allows more plantlets to grow from the cutting. The plantlets also will be just a bit bigger, easier to handle, and more likely to survive their transplanting.
-
Step 5: Separate plantlets from leaf cutting
When plantlets are large enough for you to comfortably handle them, they can be separated from the “mother” leaf. To remove the cutting from its pot, firmly grasp a plantlet, and gently pull it away from the leaf-cutting. If your soil mix is light, and not overly soggy, this should be easily done without the need for a knife. Don’t worry too much if your plantlet doesn’t have many (or even any) roots. So long as the plantlet itself is healthy, it will produce roots once it is potted.
-
Step 6: Pot for plantlet
Fill a small pot (2″ or 2 1/4″) with African Violet potting soil mix. Make a small hole deep enough to hold the plantlet. Gently push the plantlet into the hole and firm in the soil around it. The plantlet should be placed deep enough so that none of the bare central stem or ‘trunk’ is exposed, but not so deep as to bury the tiny growing point in the center of the plant.
-
Step 7: You’re done
Lightly water the transplanted plantlet. Larger plantlets can be immediately placed amongst your other violets. If the plantlet is still very small and/or has few roots, you might want to place it into a clear, covered container or plastic baggie, setting it in a bright area with consistent temperatures. This will provide a small “terrarium”-like environment and will protect it while it gets established. Remove it from this container in a few weeks.
Frequently Asked Questions
-
When Should You Propagate an African Violet?
The best time to propagate an African Violet is generally in the spring.
-
What potting soil Should You Use when Propagating an African Violet?
For best results when propagating an African Violet, you should use a light potting mix soil, particularly those marked as good for African violets. Look for HP or BX formulations.
-
What Pot Should You Use for an African Violet Plantlet?
African violets should be in well-draining pots. As the plantlets are small, they can be put in smaller pots as long as they have enough room for their roots to grow. You can also use a self-watering container to ensure that the soil remains damp, but not overly wet.